Repairing Mirror switch ( courtesy of R.Ambrose )
The switch is a simple one with no springs or bearings to pop out.
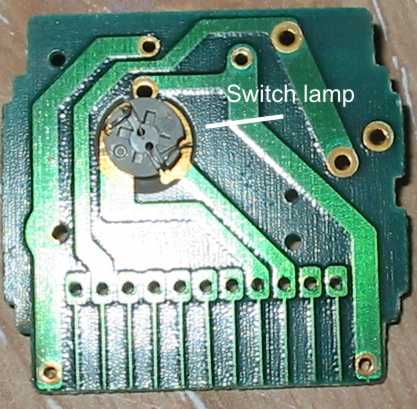
There is a single filament lamp which can be replaced.
This switch suffers from poor soldering and dry joints which will cause the switch operation to fail and\or flickery light.
Don't get ripped off buying a replacement. Fix it.
You'll need a soldering iron and a de-soldering tool. I prefer to use copper braid (solder wick) over a solder sucker.
Solder with flux in it.
Small flat bladed screwdriver for prising plastic clips.
Pair of snips\wire cutters if you buy the Maplin bulb.
Pliers may be useful.
Multimeter may be useful for checking continuity but not essential.
Alcohol based cleaner, isopropanol (nail varnish remover works well)
Small paint brush (1/2") for scrubbing the board with alcohol.
Gloves and goggles from a safety point of view.
Replacement bulb. BT43W from Maplin (99p) or I found this number on a search of pocuk, MMR283314 from Mitsu (£1.72)
Note the bulb from Maplin doesn't include the base but the Mitsu one does.
You can't replace the bulb without de-soldering.

With the switch removed from the dash prise off the 2 plastic covers
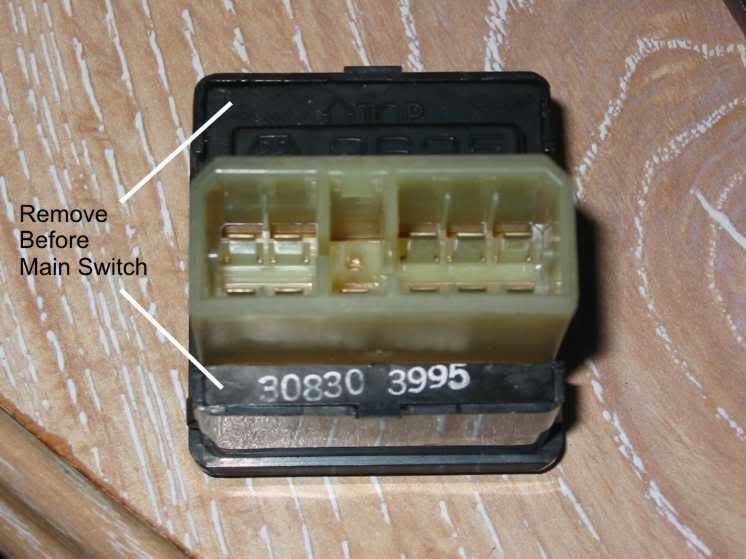
Carefully release the circuit board edge from the plastic switch body.
Note the 4 way switch and the fold in rocker are loose.
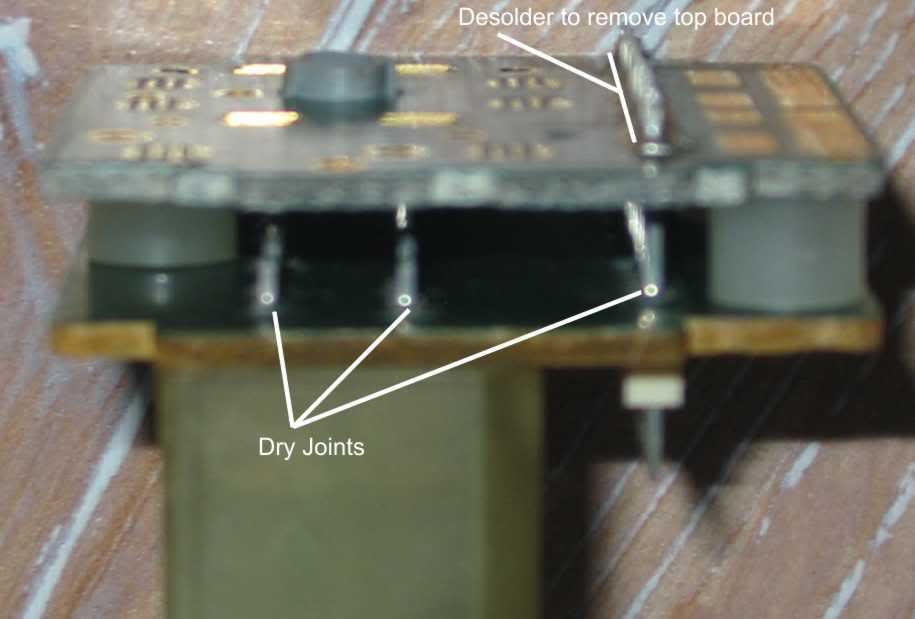
Look at the solder joints any cracks will need to be re-soldered.
To get the bulb holder out the upper circuit board must be removed (de-soldered)
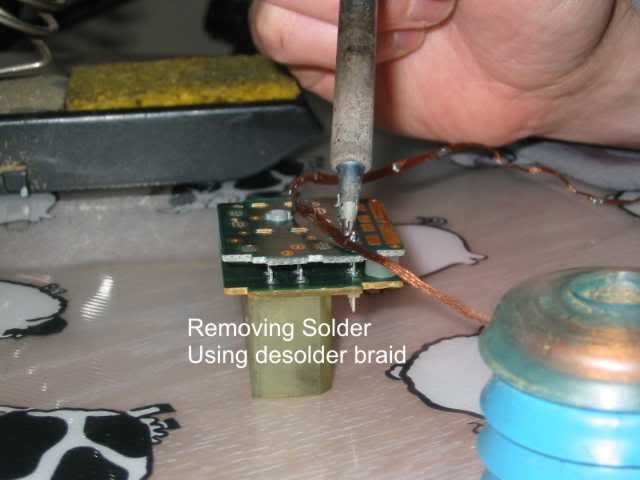
Place the braid over the joint then heat with the tip of the soldering iron.
Once the solder has stopped moving along the braid the joint should be free of solder.
If it doesn't start to flow add more solder and try again.
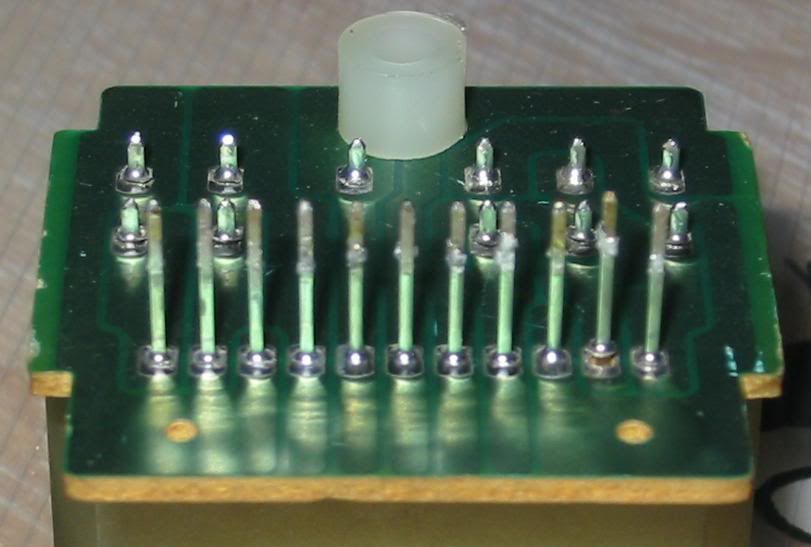
Make sure each pin can move freely in it's hole.
Gently push the pin with a screwdriver to break the fine joint.
If the pin bends then there is still too much solder on the joint.
Gently prise off the top board.
Pull off the 3 plastic spacers. (Stops you melting them accidentally)
You might see the cracked (dry) joints in the above photo.
If the switch wasn't working properly I would recommend you re-solder all the joints.
*****THE HOT SOLDER CAN SPLATTER SO WATCH YOUR EYES*****
The joint shouldn't be too blobby and be free from spikes.
Avoid soldering adjacent pins to minimize excessive heat build up.
Watch out that any splatter is removed. You can scrape this off using a flat screwdriver.
The flux contained in solder is corrosive and you should clean the board with the alcohol once you're done.
Whilst you got the switch apart you might as well replace the bulb.
the holder is just a bayonet fitting. Just rotate with a screwdriver to release.
If you've got the Maplin bulb then you'll need to re-use the holder.
It doesn't matter which lead goes in which hole. It's not an LED.
Trim off excess lead length.
I would check you have continuity between the bulb legs and there corresponding track on the board.
If you doubt your soldering skills then check the continuity of the joints.
Replace the spacers.
Solder the top board back on.
Clean off any flux residue
Re-fit the switch pad.
Fit to switch body
Replace 2 plastic clips.
Job done


